Tutorial
How to Extract Images from Word (Step-by-Step Tutorial)
This guide walks through Extract images from Word end to end: upload Office Open XML documents, unpack word/media locally in the browser, preview and select embedded pictures, optionally run post-processing, then export your selection as one ZIP archive.
You do not need an account or a browser extension — start on the Word extract page. Parsing starts automatically after you choose files; there is no separate Extract button, and nothing is uploaded to our servers.
The same flow works for report charts, proposal illustrations, lecture screenshots, and scanned contract pages. Each batch is parsed once per session, so you can revisit selections and re-export without uploading again.
What you will learn
You will learn how to queue several Word files that parse automatically on upload, how to handle EMF/WMF formats that browsers cannot preview, how to batch-adjust format and size before download, and how to export only the embedded assets you actually need.
Before you start
Use Office Open XML formats: .docx, .docm, .dotx, and .dotm. Legacy binary .doc is not supported — save as DOCX in Word or LibreOffice first.
You can upload up to five files per session. Large documents with hundreds of embedded images may take longer; wait for the workspace to open (about a two-minute cap per file).
Make sure you have permission to export the pictures and respect copyright and confidentiality rules. Password-protected or corrupted files may fail to open.
A DOCX file is a ZIP archive; embedded images live under word/media/. This tool reads that structure — it does not screenshot pages or run OCR.
Step-by-step tutorial
Step 1Open the page and upload your Word document
Go to bulkimagedownload.com/word-extract (or use Tools → Extract images from Word in the header).
Drop .docx files into the dashed box, or click Choose Word file — parsing starts automatically with no extra extract click.
Use Add file to queue more documents in the same session — up to five total.
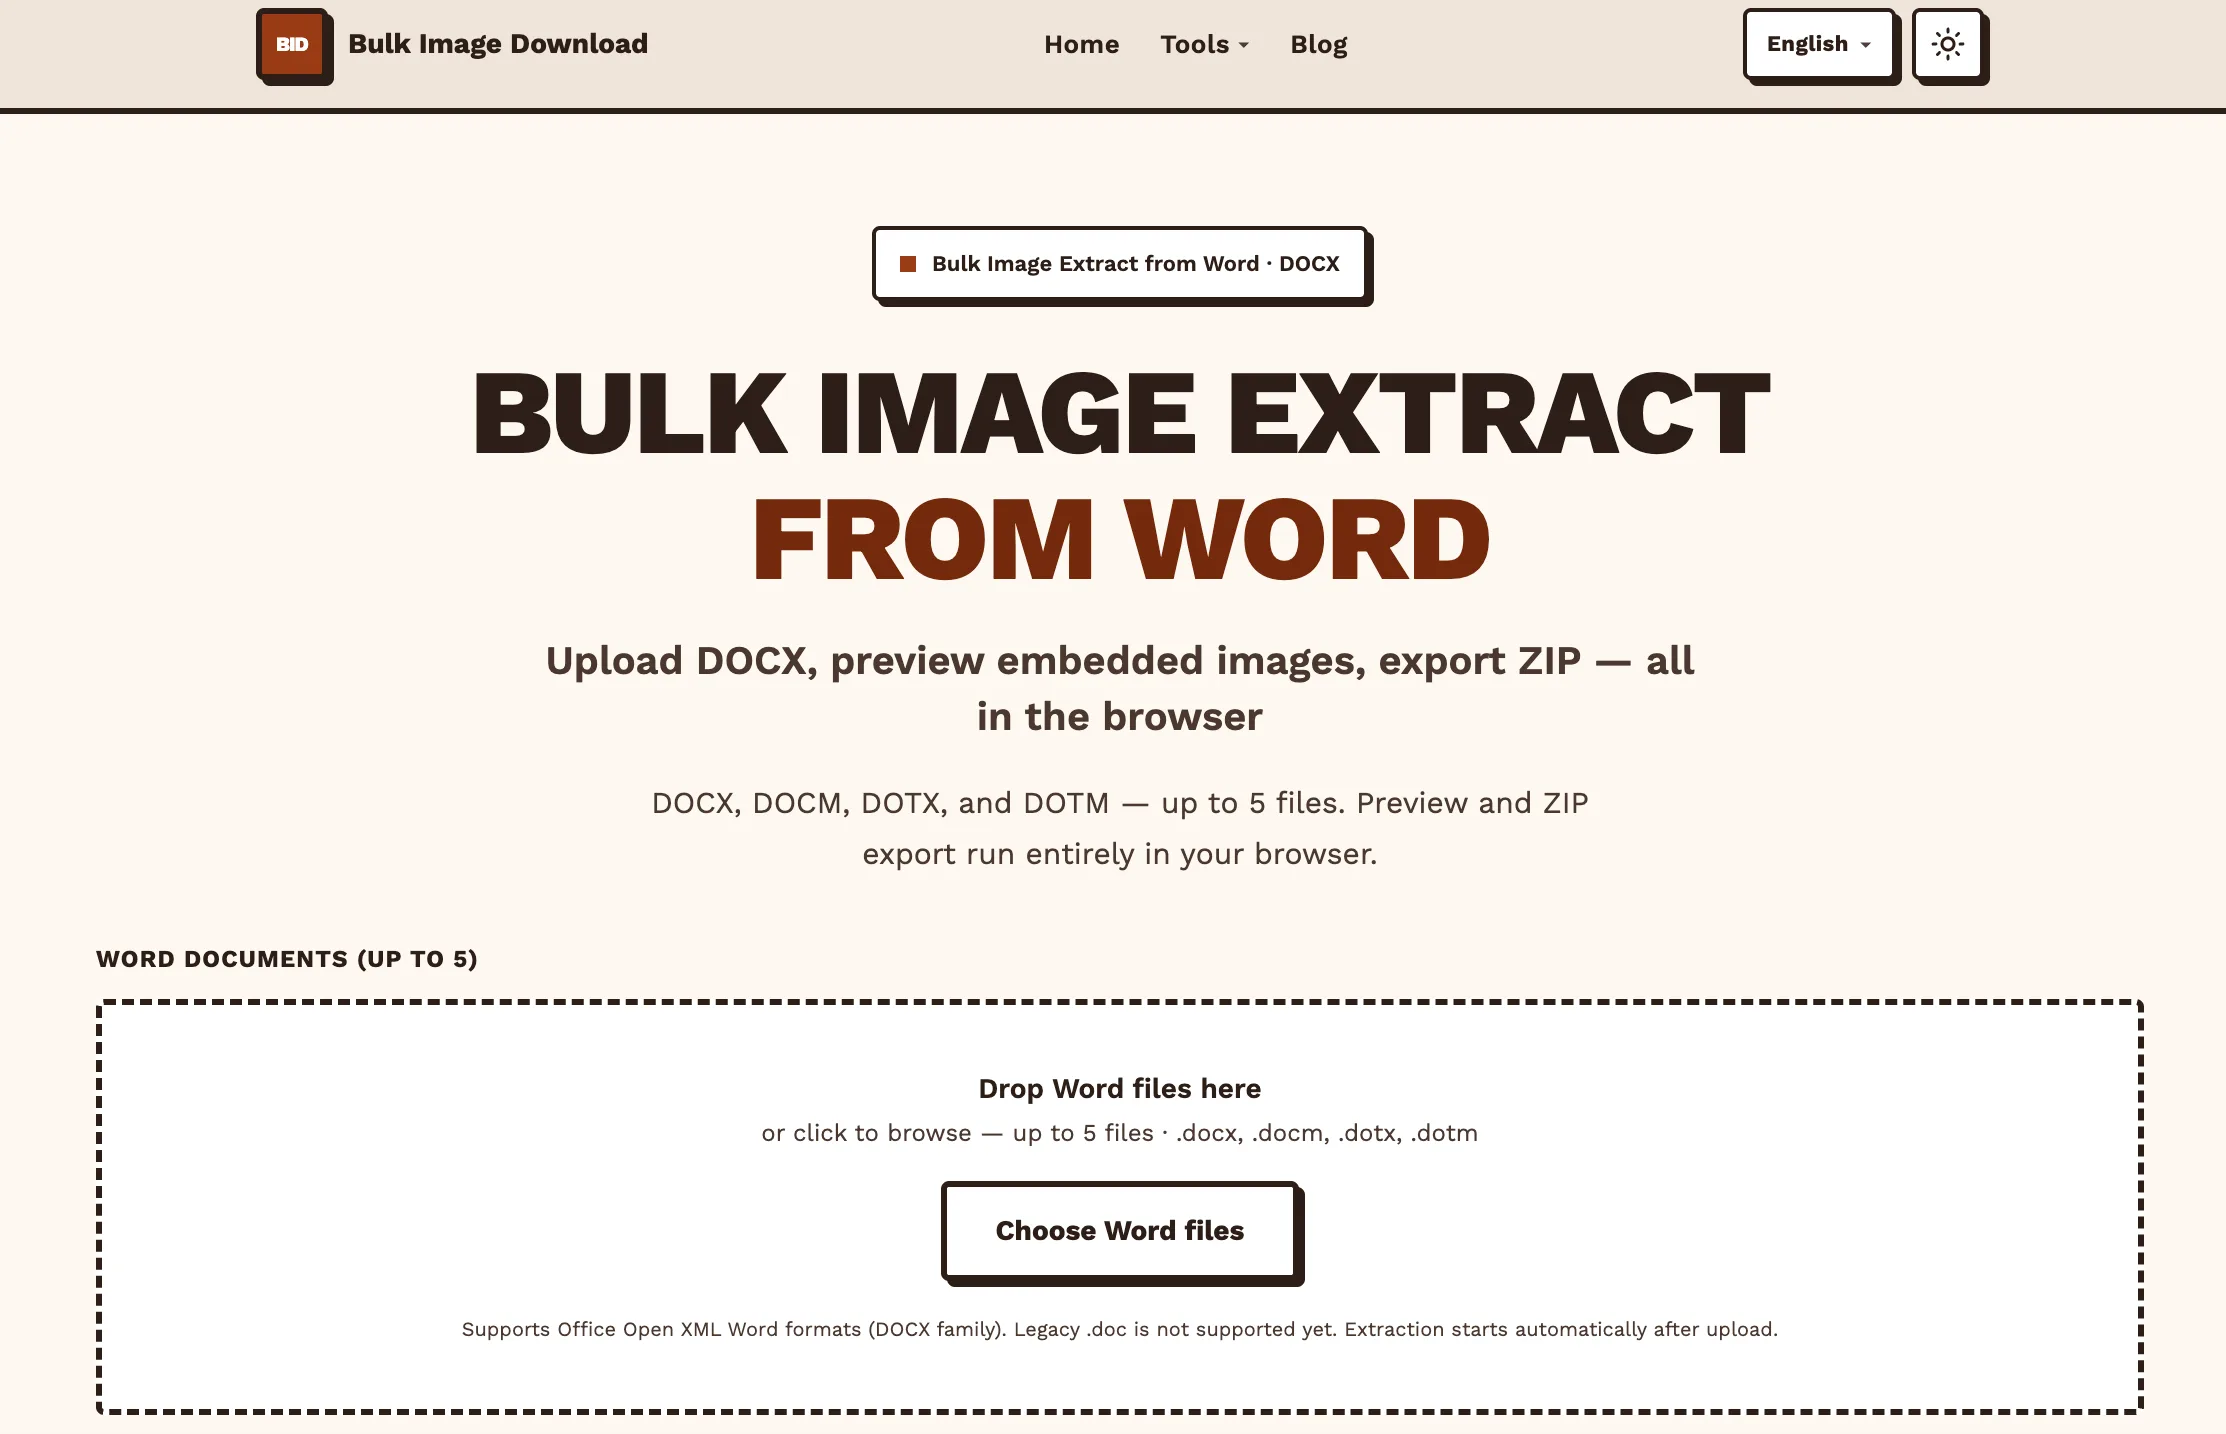
Figure 1 — Word extract page: upload triggers automatic parsing. Step 2Preview workspace
When parsing finishes, the workspace opens with a thumbnail grid grouped by uploaded document. Scroll inside the fixed panel to browse large sets.
Each card shows format and file size when available. Filter by source document when several files are loaded.
EMF and WMF vector metafiles often cannot preview in the browser — cards show a preview-blocked badge. You can still include them in the ZIP and open them in Word after download.
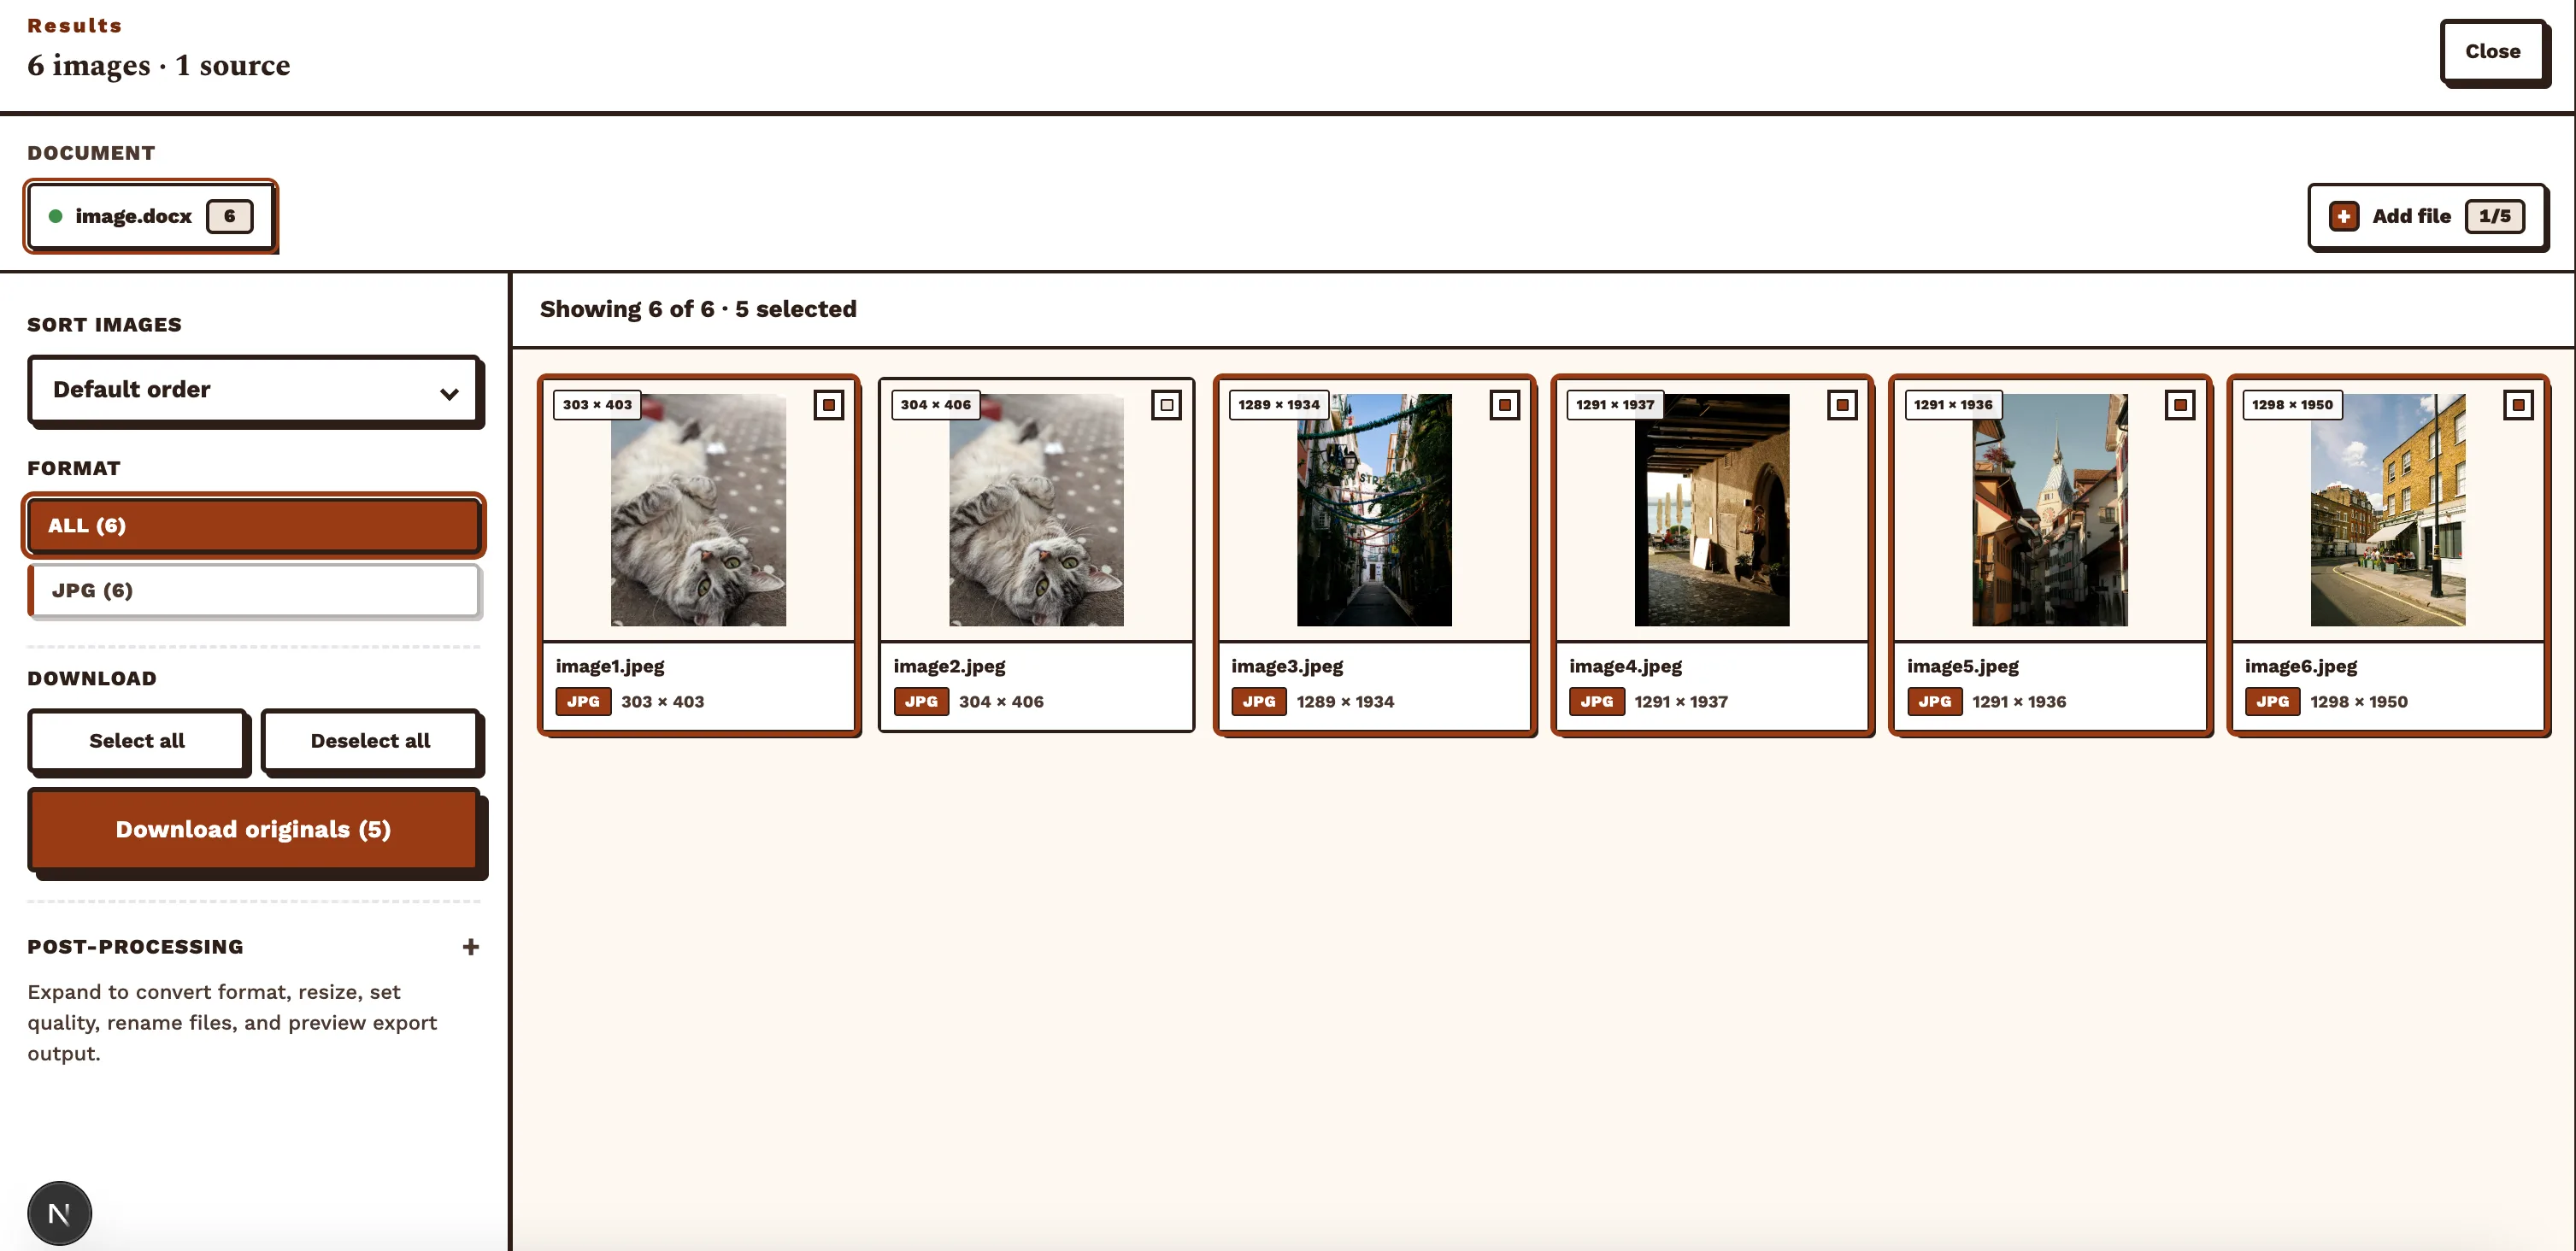
Figure 2 — Preview workspace after a successful parse. Step 3Select the images you need
All embedded pictures are selected by default. Use Select all, then deselect watermarks, tiny icons, or duplicates.
Format filters help keep only PNG, JPEG, or other types you care about.
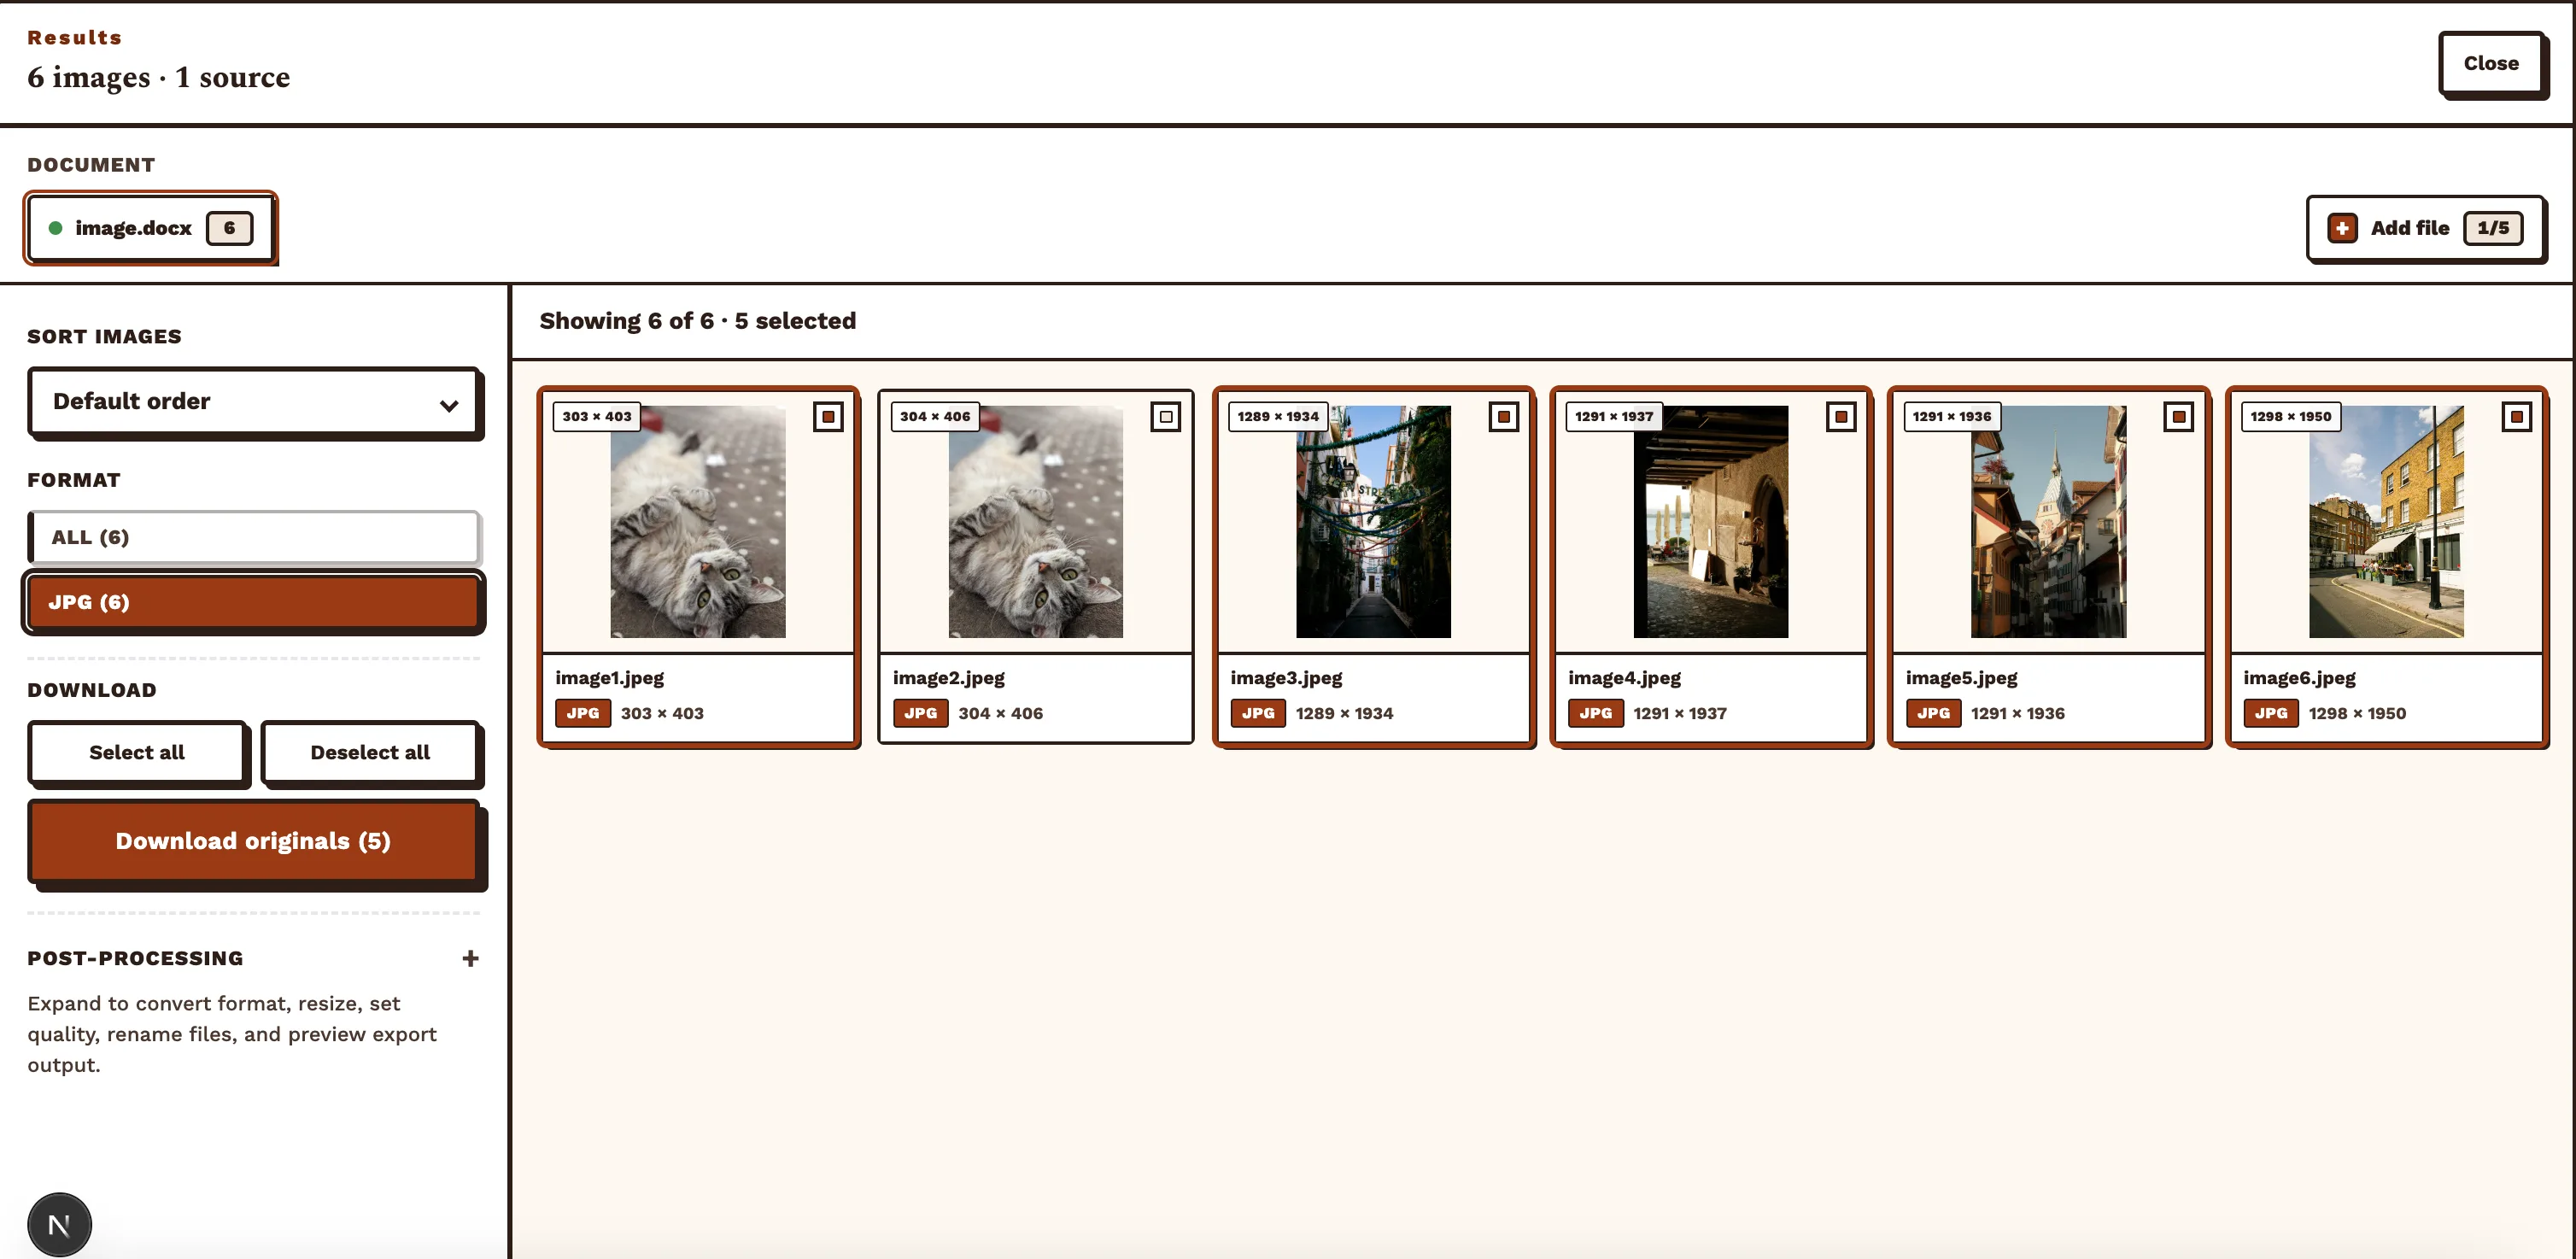
Figure 3 — Check assets before download. Step 4Optional: post-processing
Expand Post-processing in the results panel to batch-convert format, resize output, set compression quality, customize filenames, and preview exports.
Skip this step when you only need the original word/media files.
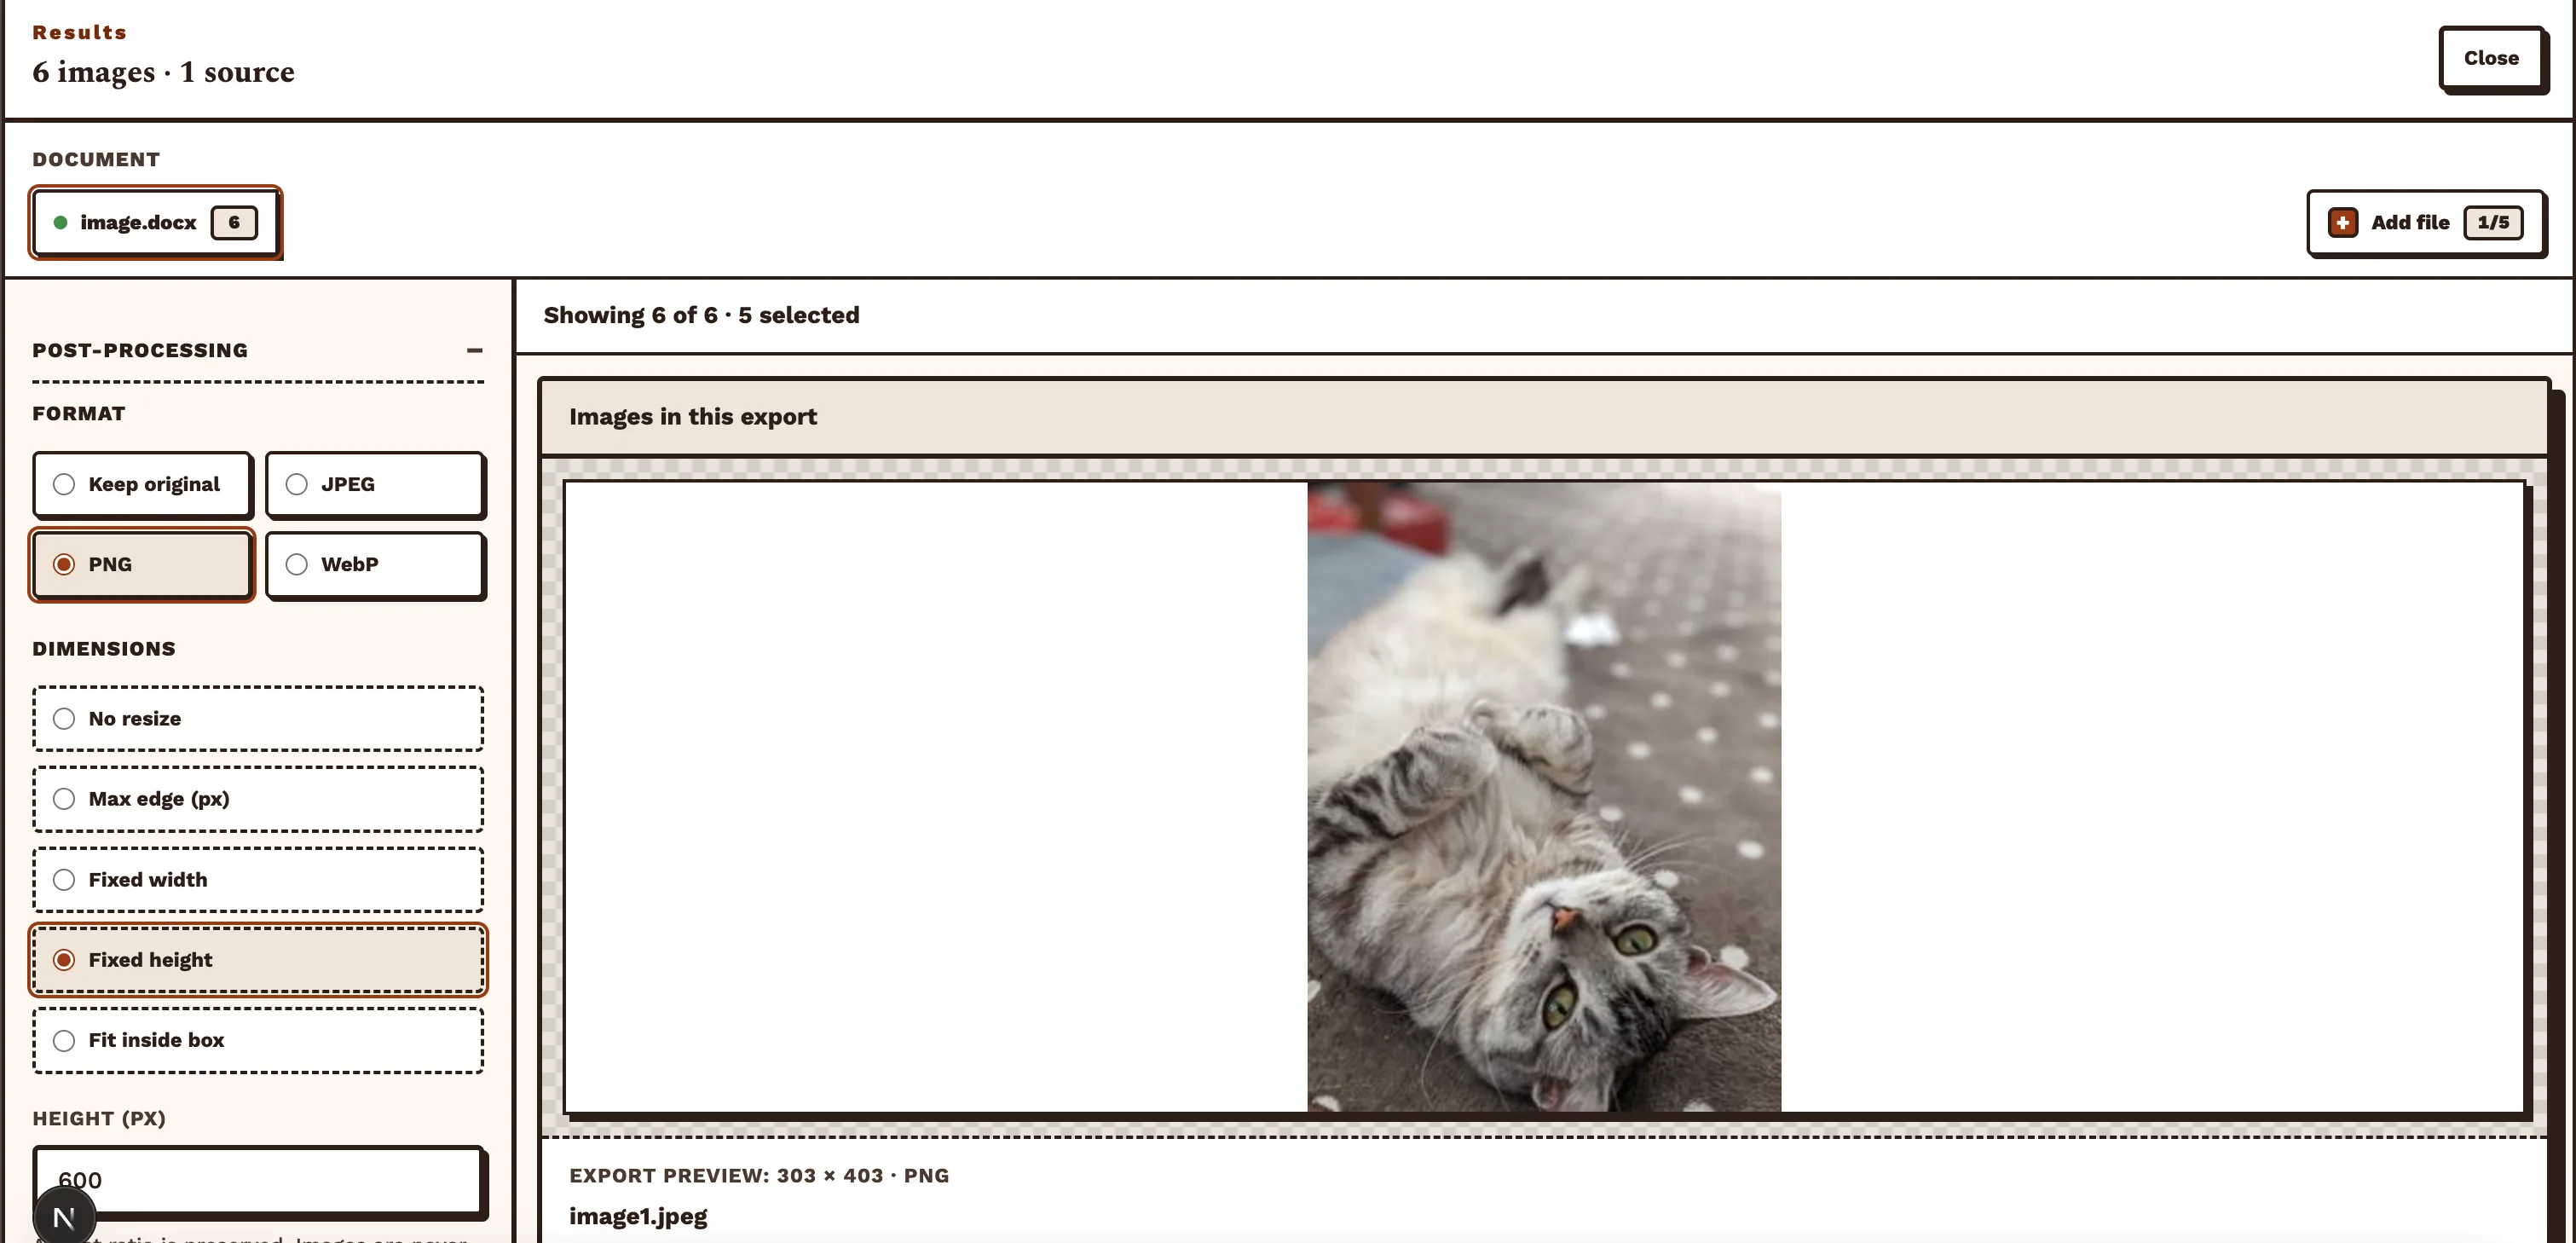
Figure 4 — Post-processing and export preview. Step 5Download the ZIP archive
Click Download ZIP to pack your selection in the browser. With post-processing enabled, files are converted and resized first; otherwise originals from word/media are packed as-is.
A single document usually names the ZIP after the file; multiple documents export as word-images.zip.
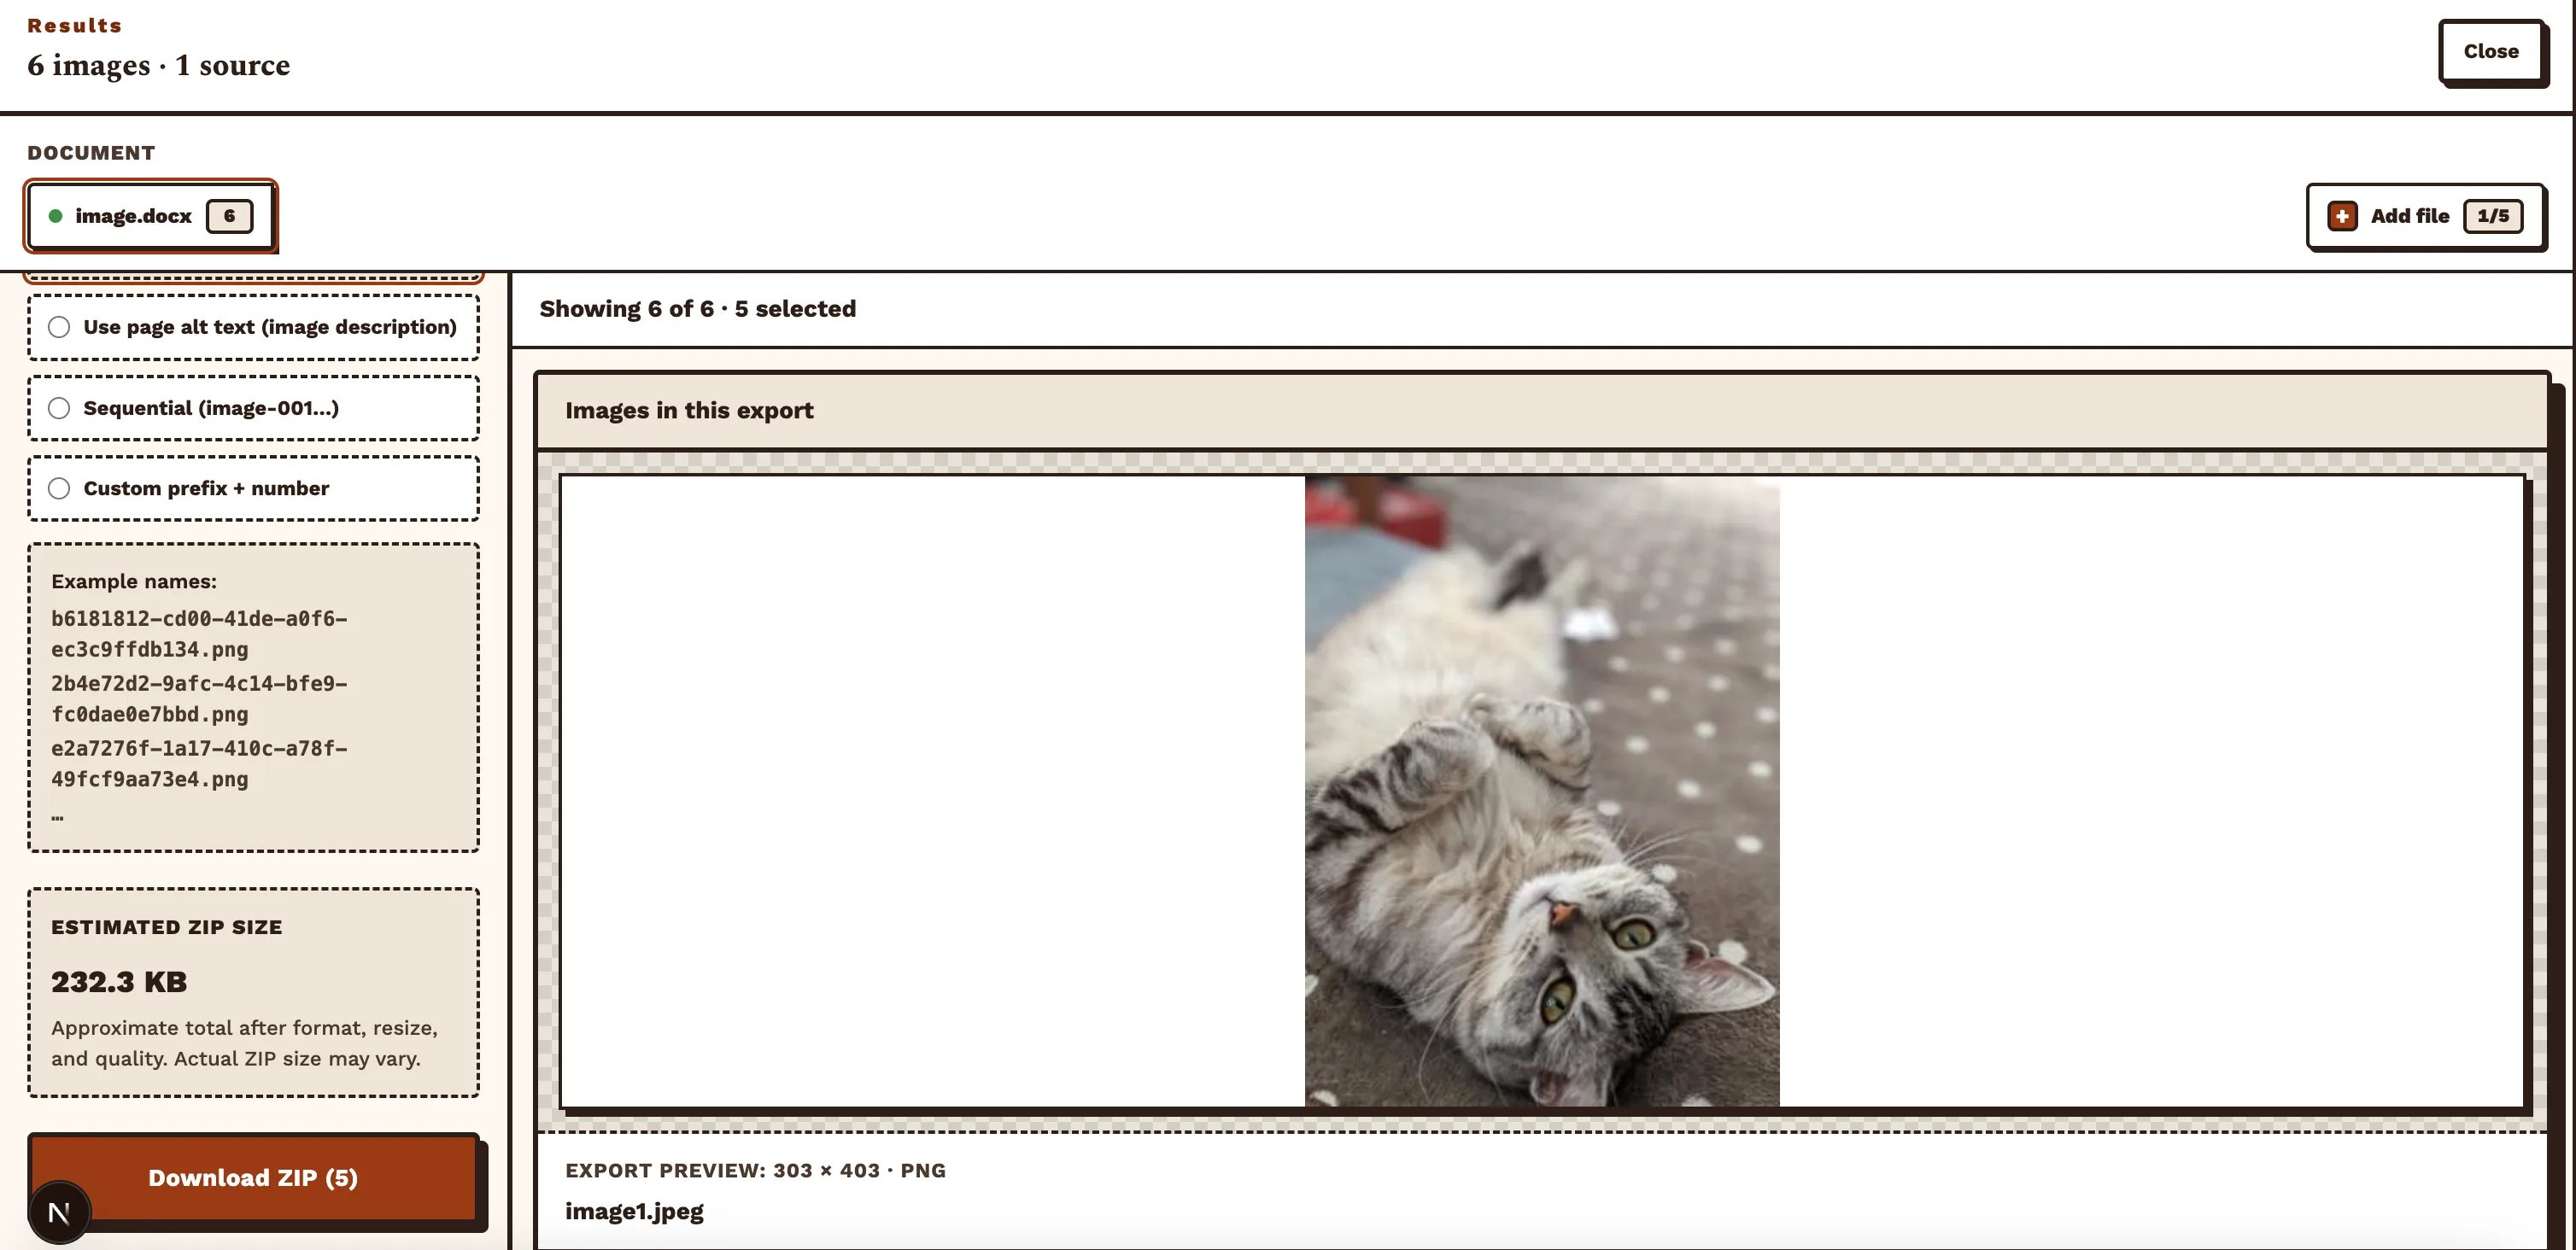
Figure 5 — Download ZIP after selection (and optional processing). Step 6Verify the archive
Your browser saves a ZIP file. Extract it locally, confirm filenames, formats, and dimensions, then import into slides, design tools, or a CMS.
If EMF/WMF files will not open in your preview app, open them in Microsoft Word. Return to the workspace, adjust selections, and re-download — no need to upload again.
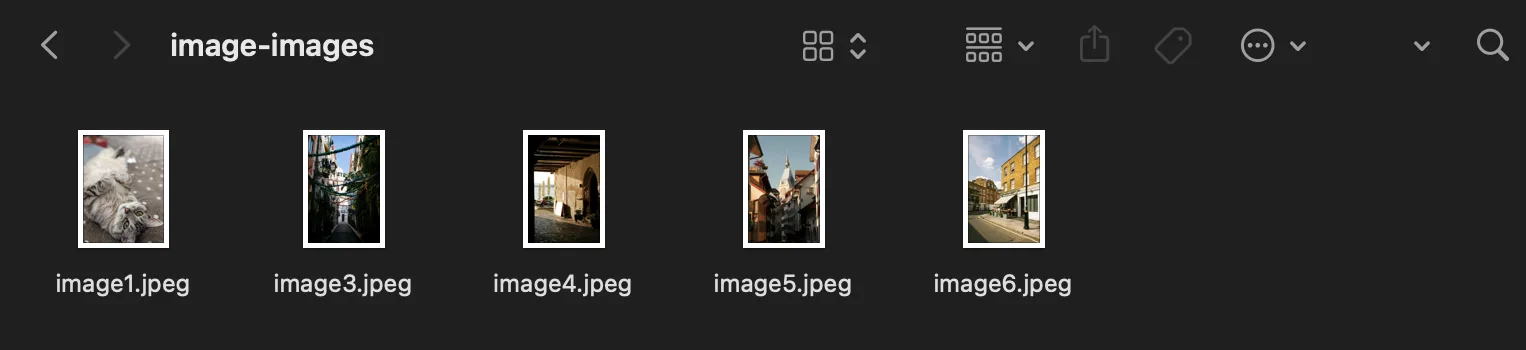
Figure 6 — Extracted files on your computer.
Tips and caveats
Always save legacy .doc as .docx first; LibreOffice’s Save as Word 2007–365 (.docx) works too.
Corporate templates heavy on EMF/WMF: download the full ZIP first, then review in Windows Word — blocked browser previews do not mean corrupt files.
Very large documents parse slowly; keep the tab active and wait for the workspace to appear. On timeout, try splitting the file or reducing embedded image count.
Local parsing suits confidential drafts, but avoid untrusted devices for sensitive material.
Who this workflow helps most
Report and white-paper charts, proposal logos and scans, lecture slides, and localization handoffs all follow the same flow: upload → preview → select → post-process (optional) → ZIP.
For web pages or PDFs, switch to the matching tool in the site header menu.
Much faster than saving pictures one by one in Word — and safer than manually renaming .docx to .zip.